Installing an LED Strip in a Ceiling Cove
A practical guide to installing an LED strip in a ceiling cove: strip quality, surface preparation, aluminum profiles, power selection, power supply, additional power feed, and when not to use waterproof strips.
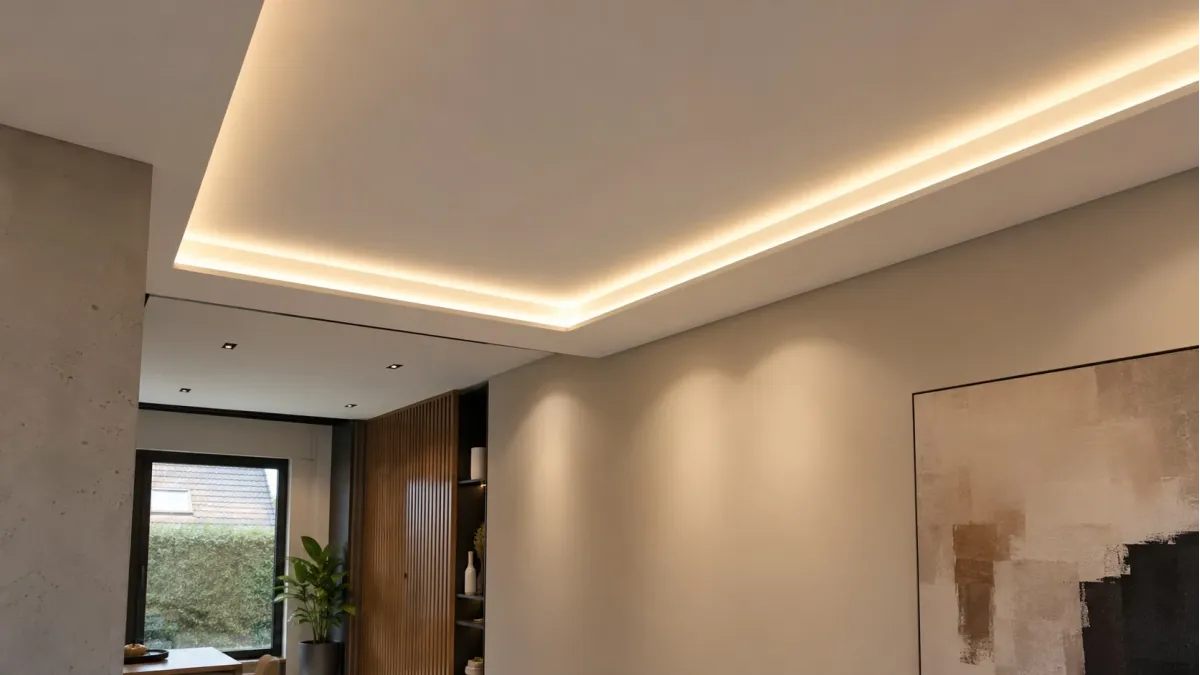
A ceiling cove with an LED strip is one of the most popular ways to create elegant indirect lighting. When designed properly, it produces a soft decorative glow, improves the perceived proportions of the room, and helps build atmosphere. To achieve a durable and aesthetically pleasing result, however, it is not enough to focus on the idea alone. Strip quality, surface preparation, installation method, and correct power design all matter.
Why LED strip quality matters
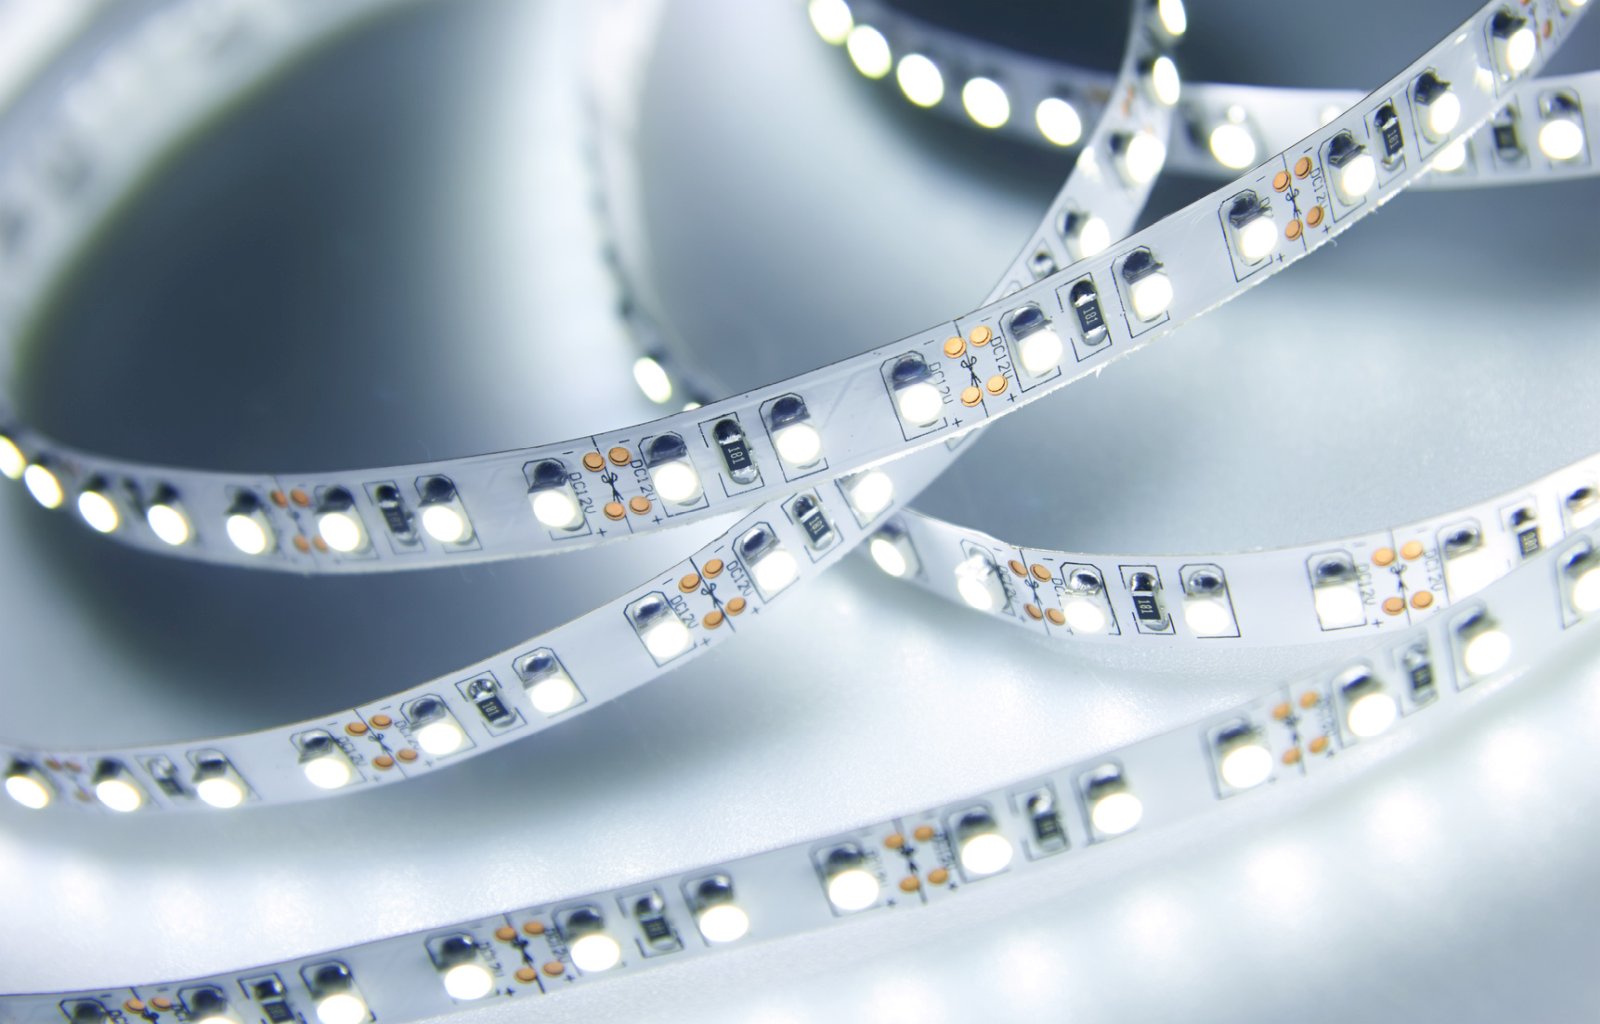
For a ceiling cove, it is worth choosing high-quality LED strips. A well-made printed circuit board is not excessively fragile, and the components – LEDs, resistors, and jumpers – are correctly arranged and reliably soldered. This greatly reduces the risk of so-called cold solder joints, meaning cracks in the solder connections that may appear during installation.
LED strip quality is not only about mechanical robustness. It also includes the quality and durability of the LEDs themselves. Good diodes maintain their parameters over time: light color, luminous stability, high CRI, and repeatability from one diode to another. These factors are essential for a uniform lighting effect throughout the entire cove.
Strong adhesive and reliable installation
The underside of an LED strip is equipped with double-sided adhesive tape. In a good-quality product, the adhesive is strong and durable, but even the best adhesive will not perform well if the surface has not been properly prepared. Before installation, the substrate should be thoroughly degreased, cleaned, and dust-free. In renovation conditions, dust is almost inevitable, so this step should never be overlooked.
Preparing the cove and the mounting surface
A large portion of the light emitted from a ceiling cove into the room will be reflected light. This means that any irregularities, inclusions, imperfect plastering, uneven paint coverage, or even visible green or pink plasterboard surfaces may become clearly noticeable once the lighting is turned on.
For this reason, it is worth bringing the cove to the best possible finish before installation. This applies both to the edges and to the surfaces from which the light will be reflected.
Vertical mounting is often easier
If the cove geometry allows it, installing the strip on a vertical plane is often more convenient. In that case, the cove can almost be “wrapped” with the LED strip, without excessive concern about frequent cutting, soldering, or difficult bends. In practice, the main focus then shifts to correct power supply design and, when needed, to additional power feeding of the farther sections.
Is an LED profile always necessary in a ceiling cove?
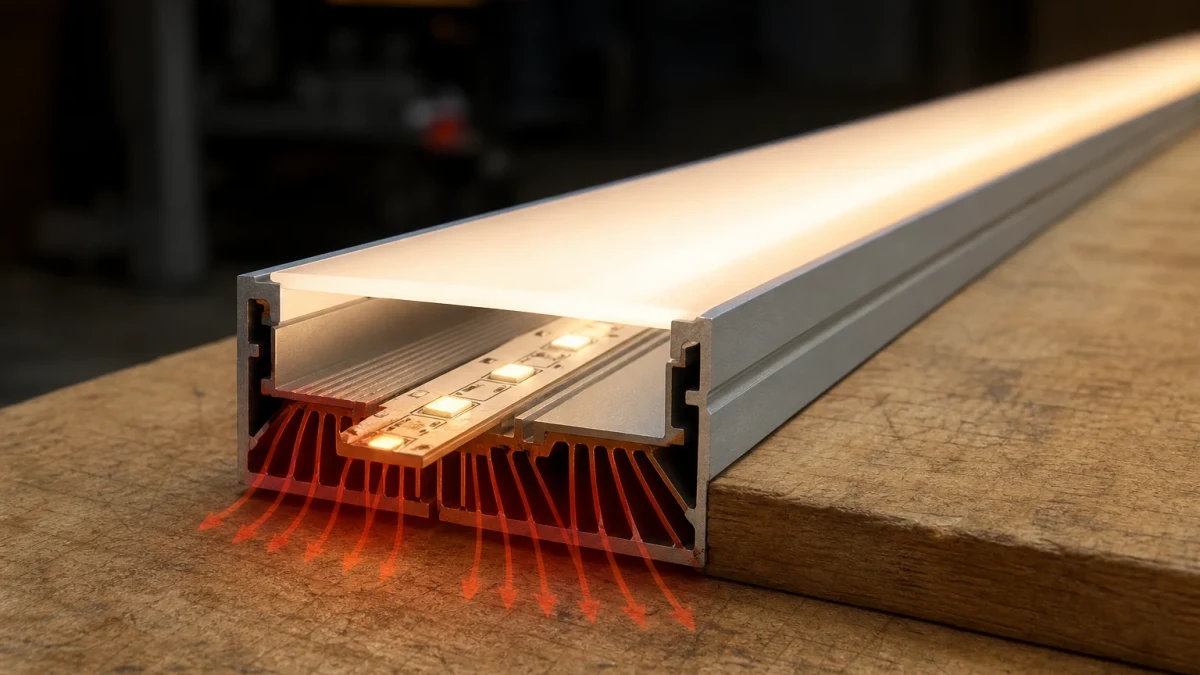
An LED profile is used when there is a problem maintaining a reliable adhesive line, when an aesthetic cover is needed because the strip may be visible from outside, or when additional mechanical protection is required. In practice, this applies to most installations, which is why profiles are usually recommended.
The safest choice is an aluminum profile with a milky, opal, or white diffuser. This combination improves appearance, organizes the light line, and helps protect the strip during operation.
When is a profile especially useful?
- when the surface does not guarantee durable adhesion,
- when the strip may be at least partly visible,
- when the light source needs extra protection against accidental damage,
- when a cleaner and more professional finish is desired.
How much power should an LED strip have in a ceiling cove?
It is not a good idea to assume that a ceiling cove should always use “as much light as possible”. In most cases, this type of lighting is decorative rather than the main source of illumination. As a rule, we do not recommend exceeding about 10–12 W/m.
If the cove is well built and the light source itself remains hidden, an LED strip with a power of up to about 5 W/m can be a very attractive and often fully sufficient solution. This allows you to achieve a subtle, elegant effect without unnecessary visual harshness.
Power supply and additional power feed
Correct LED power supply design is just as important as the strip itself. When planning the installation, keep in mind the maximum length of a uniform strip section powered from one side only. For 12 V strips, that length is typically up to 5 m, and for 24 V strips, typically up to 10 m. However, the manufacturer’s instructions for the specific strip should always take priority.
What is an additional power feed?
Additional power feed means running power with an extra pair of wires to another point of the same LED strip section – for example to its far end or to a more distant section – in order to reduce voltage drop. This helps prevent brightness loss, color shift, and uneven illumination on the farther meters of the installation.
When should you add power feed?
When you are approaching the maximum allowed length of a strip powered from one side, you should either add an additional power feed or start a new strip section. This is especially important in ceiling coves, where the goal is a uniform, elegant light line without visible degradation at the far end.
Should you use waterproof strips rated IP65, IP67, or IP68?
Higher-IP LED strips should not be used where such protection is not actually needed. Designing with unnecessary excess is not a good practice. Waterproof coatings are not permanent, they slightly affect the light color, and they reduce heat dissipation.
In practice, even in bathroom ceiling coves, it is often acceptable to use a non-waterproof strip installed in a profile, provided it is not located directly above an intensely humid zone such as a shower or bathtub. This helps the strip maintain its nominal parameters for a longer time.
Recommended solutions for a ceiling cove project
- LED strips – preferably with stable parameters and predictable quality.
- Aluminum LED profiles – for neat installation and strip protection.
- Milky / opal diffusers – for cleaner optics and a more finished look.
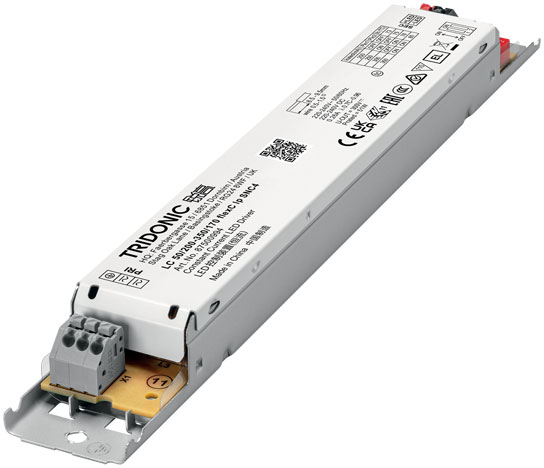
- LED power supplies – selected with proper power reserve and correct voltage.
- Dimmers and controllers – useful when the light level should be adjusted to the function of the room.
Summary
A durable and visually refined LED strip installation in a ceiling cove requires several elements to work together: a high-quality strip, carefully prepared substrate, sensible power selection, an appropriate profile, and well-designed power supply and additional power feeding. When these elements are handled properly, the cove can deliver an elegant, uniform, and long-lasting lighting effect.
If you are planning such a project, also see the related guides: how to choose a power supply for an LED strip, 12V or 24V – which LED strip should you choose?, and LED profile – when is it necessary?.
Contact us — we will help you choose the right solution
Choose your preferred contact method