Kitchen Worktop Lighting: A Practical Guide
Well-planned under-cabinet lighting reduces shadows on the kitchen worktop while providing a subtle evening ambience. Learn where to position the light, choose its colour, and plan 12 V power and cabling.
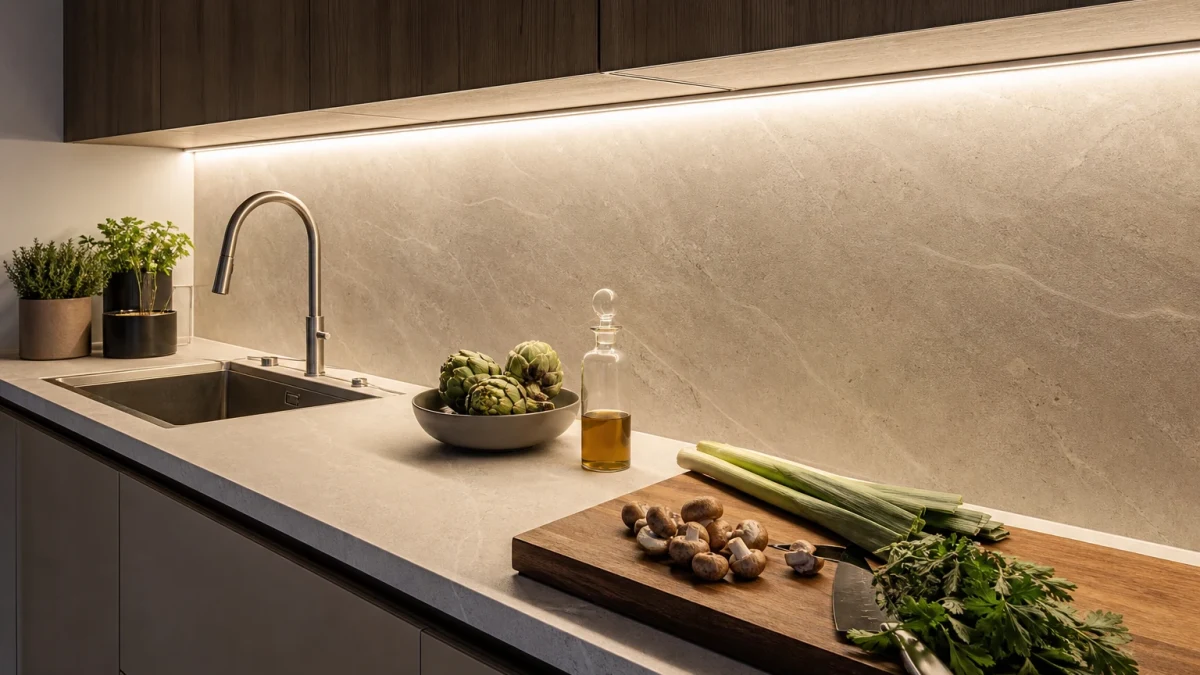
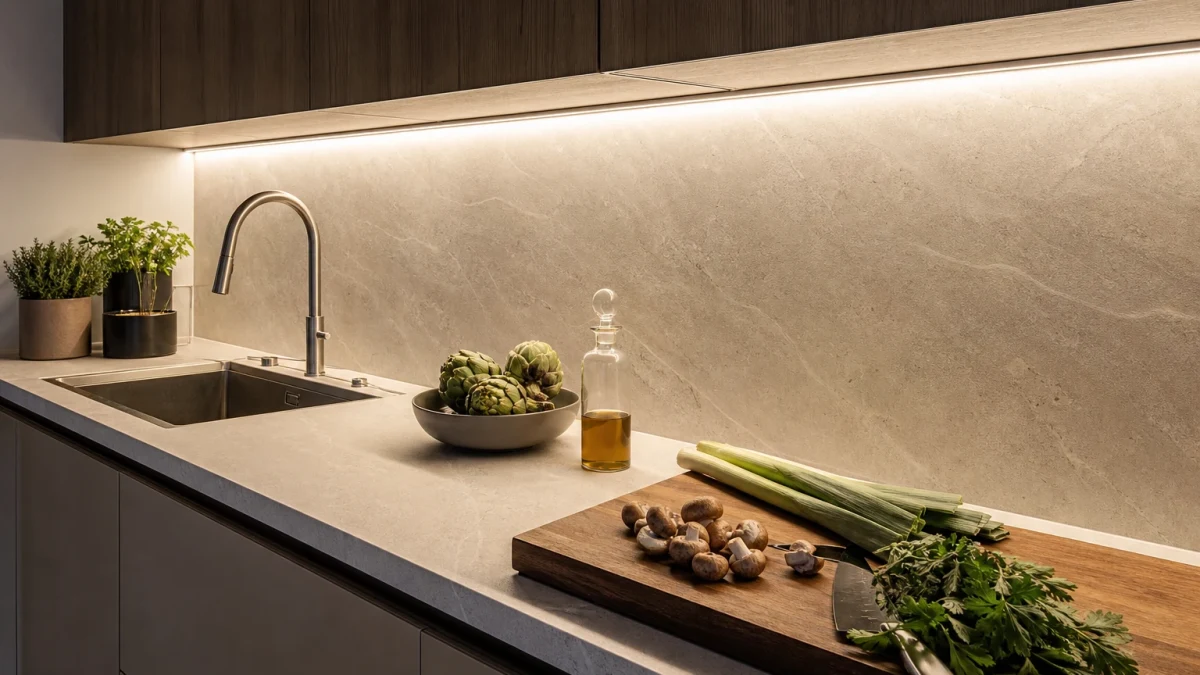
Kitchen worktop lighting should make preparation, cooking and cleaning easier. A ceiling fitting is often behind the person standing at the cabinets, so their body blocks the light. A separate fitting beneath the wall cabinets puts light where it is actually needed. It can also provide a restrained decorative layer in a kitchen or an open-plan living space.
Start with the task: even light across the worktop
The key working areas should be lit as evenly as practical, especially food-preparation zones, the area around the hob and sections near the sink. Review the kitchen after dark: the aim is to avoid pronounced dark patches and harsh shadows created by isolated points of light.
Warm white and neutral white are the usual choices for kitchens. Warm light suits timber and a more domestic interior, while neutral white can make it easier to judge the appearance of food and work surfaces. Whichever colour temperature is chosen, select light sources with a colour rendering index of at least CRI/Ra 80. Our article What is color? explains why colour rendering affects how objects appear under artificial light.
Linear lighting or spotlights?
LED strip in an aluminium profile
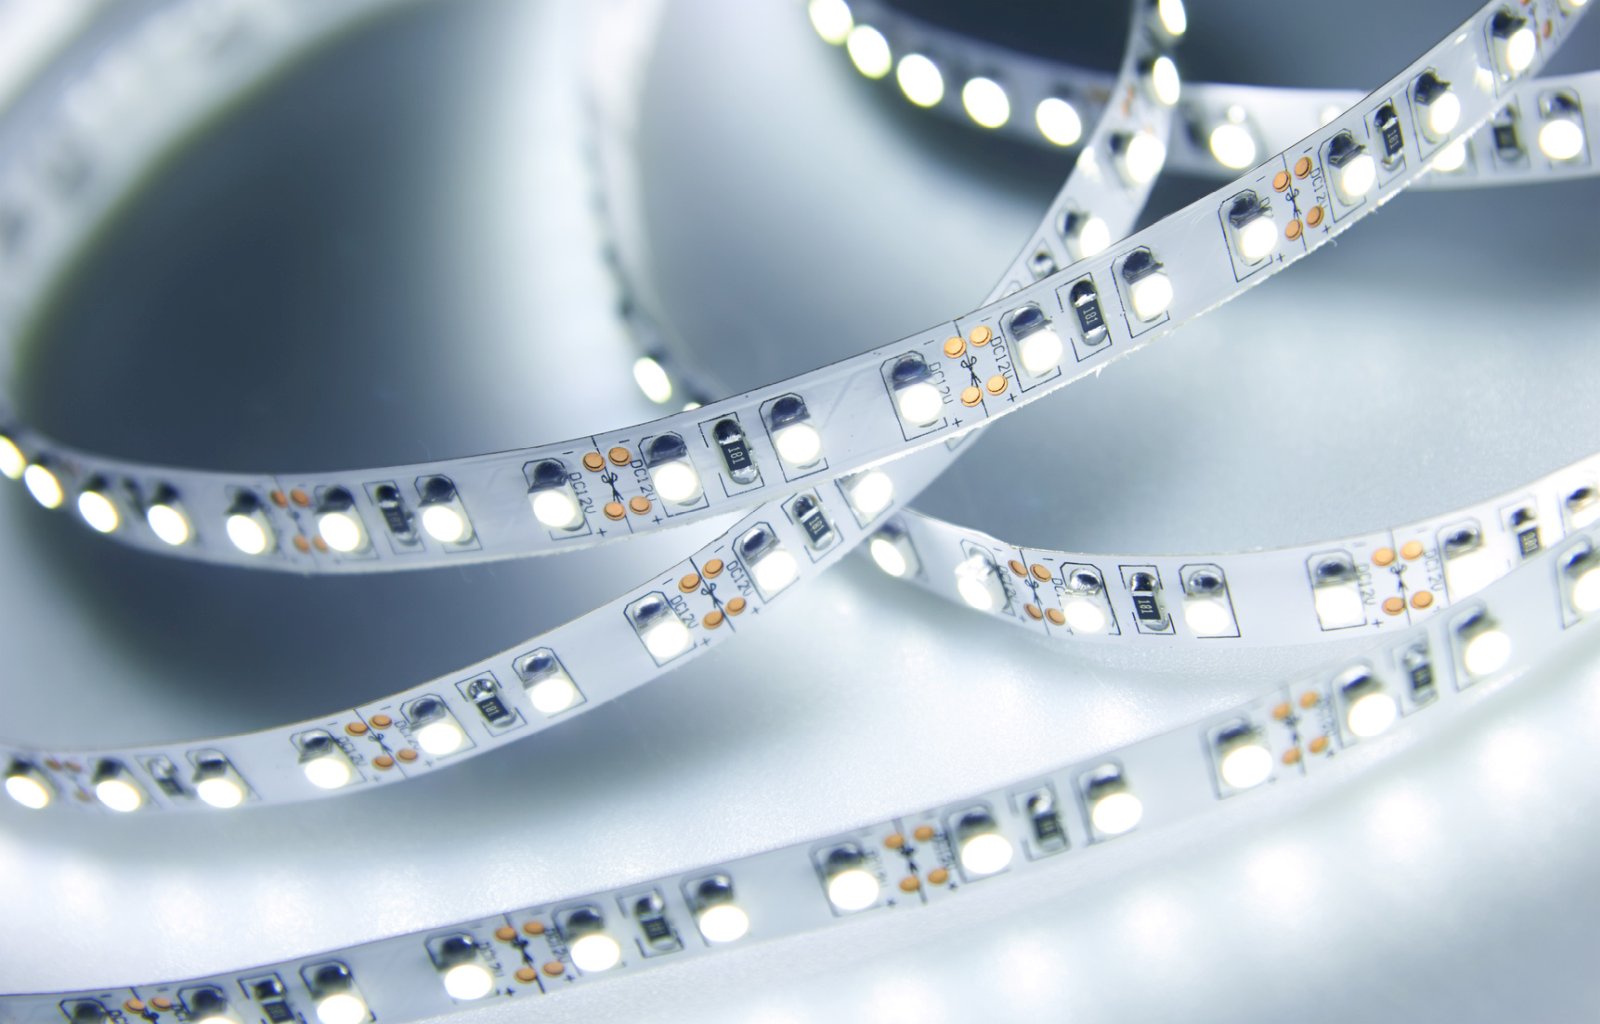
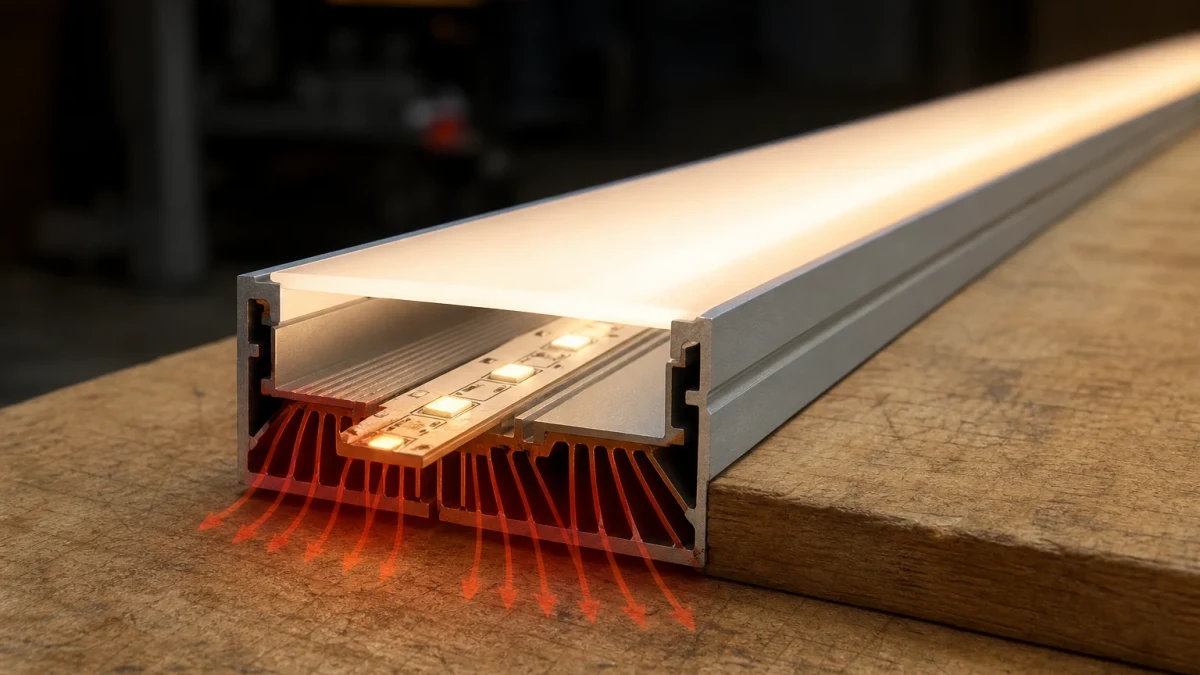
An LED strip installed in an aluminium profile is adaptable: it can be cut and arranged to follow long runs of cabinetry. The profile protects the strip, assists heat dissipation and accommodates a diffuser. A higher LED density and an appropriate mounting position generally make it easier to achieve a more uniform line of light.
For task lighting, choose a white strip based on the required light output rather than LED count alone. For a warm-white scheme, examples to compare include the 12 V warm-white 60 LED/m 3528 LED strip and the denser 12 V warm-white 120 LED/m 2835 LED strip. Check watts per metre, luminous flux, CRI and total installed length before specifying a product. See SMD 3528 vs SMD 2835 for a discussion of these common LED package types.
Point fittings
Spot fittings work well when the cabinet construction defines specific installation positions or when selected zones are to be highlighted. Their spacing needs particular care, however, so that the worktop does not alternate between bright pools and dark gaps. The CabiLED MIDI O White 2700K is an example of a fitting for this approach. At 2700 K it produces a distinctly warm effect, so compare it with the rest of the kitchen lighting before committing to it.
Where should the profile sit beneath the cabinets?
When task performance is the priority, place the profile as close as practical to the centre of the worktop depth. This helps light reach the front of the counter and reduces the shadow cast by the user. The final position depends on cabinet depth, the cooker hood, handles and whether the fitting is visible from elsewhere in the room.
Mounting the profile near the wall creates a different result. It emphasises the splashback, tiles or wall texture, but some of the light is lost to reflection and less reaches the working surface. This location is useful for a decorative wash, but is not always the best sole source of task light.
- Trial-fit the profile and test the lighting after dark before permanently fixing the strip.
- The profile mounting surface should be clean, degreased and stable.
- Avoid aiming the fitting so that it causes direct glare for people seated opposite the kitchen.
- Near sinks and sources of steam, select equipment appropriate to the environment and follow the component manufacturers’ instructions.
12 V power and power supply selection
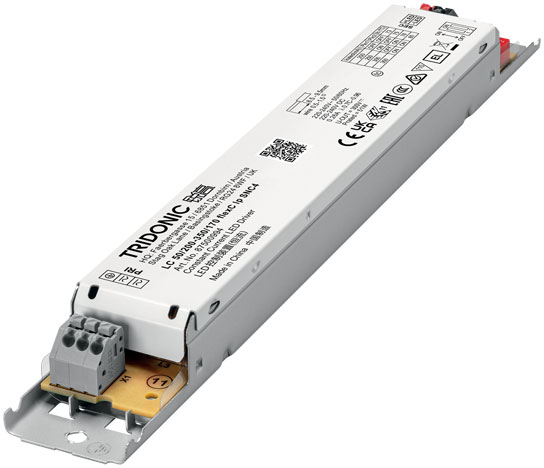
A 12 V DC system is a practical arrangement for under-cabinet lighting. Select a constant-voltage power supply for the combined load of all LED strips or fittings, allowing suitable power headroom. Its dimensions, cooling arrangement, protection rating and installation conditions also need checking. For calculation principles and the difference between constant-voltage and constant-current LED drivers, read How to find the right LED power supply?.
The Slim 12 V 36 W LED power supply, for example, is suitable only where the calculated load, including headroom, remains within its rating. Do not size a power supply by guesswork or install it in an unventilated, cramped void.
Service access and the 230 V side
A power supply may be concealed inside, above or behind a cabinet, but it must remain accessible for future service. The power supply, connections and controller may need inspection, maintenance or replacement. They should not be permanently enclosed without a safe means of access.
The 230 V cable between the supply point and the power supply should be double insulated, installed in accordance with applicable regulations and kept as short as feasible. Mains-side work should be carried out by a properly qualified electrician in accordance with local electrical requirements. Keep 230 V wiring and connections separate from low-voltage circuits.
12 V cables: conductor size and voltage drop
Conductor cross-section must be selected for current, cable length, installation method, temperature and acceptable voltage drop. In a 12 V installation, even a modest voltage drop can cause reduced output or visible differences in brightness at the far end of a long run. Keep feeds to remote sections short and adequately sized; longer strips may require an additional power feed.
As conservative, indicative continuous-current figures for a single copper conductor in a typical low-voltage installation, allow approximately 3 A for 0.35 mm², 5 A for 0.5 mm² and 7 A for 0.75 mm². These are not universal ratings or a substitute for the cable manufacturer’s data. Permissible current varies with insulation, the number of loaded cores, installation method and ambient temperature. For worktop lighting, 0.5 mm² is generally a sensible minimum, while 0.75 mm² is often a sound practical choice. Confirm the final cable size from circuit current and the manufacturer’s specification.
Calculate 12 V current with I = P / U. A 24 W load at 12 V, for instance, draws 2 A in theory. When assessing the circuit, also allow for cable length and plan separate feeds to sections where appropriate rather than running many lengths from one thin cable.
Controls and lighting scenes
Worktop lighting often remains useful after food preparation has finished. A dimmer can lower output for the evening, while separate zones allow independent control of different cabinet runs. Before choosing a controller, verify compatibility with the system voltage, LED type, total load and intended control method.
Where task and decorative lighting serve different purposes, it is sensible to separate them. Full output can be reserved for food preparation, while a lower setting can provide gentle orientation light in a kitchen open to the living area.
Pre-installation checklist
- Identify the worktop areas that need task lighting.
- Choose linear or point lighting and a colour temperature that suits the interior.
- Check CRI/Ra, wattage, voltage and length for every light source.
- Set the profile location: nearer the worktop centre for task lighting, nearer the wall for a stronger decorative accent.
- Calculate total load, select a power supply with headroom and retain service access.
- Size cables for current and run length to limit voltage drop.
- Plan controls, zones and safe execution of the 230 V installation.
Conclusion
Effective kitchen worktop lighting combines even distribution, suitable fitting placement and a properly designed power system. An LED strip in a profile will usually provide the most continuous illumination, while spot fittings demand more careful spacing. Colour quality, cable sizing, power headroom and access to the power supply are all essential to comfortable use and straightforward future servicing.
Contact us — we will help you choose the right solution
Choose your preferred contact method